0 Comments
One of our members, Pam, let us know about this new trend. Using washable school glue is easy, nontoxic, and doesn't gum up your machine if you follow the procedure shown. By the way, Pam's sister tried this technique and loved the results. The first video below gives a quick overview of the process. She refers to the original video she watched, and so I have posted those 2 videos below. I highly recommend watching the original videos if you want to use this technique. Well worth the time. PS- This is Ann. I tried this method and love it! I am changing to doing this with all my projects. Below is the original with more details on this technique: Answering all the questions that her followers asked about. A lot of useful information in this video. Enjoy! This is such a nice gift for quilters. Irene from Sugaridoo.com has written an eBook with 101 designs to choose from, and it is free! Check it out and follow her 5 steps in her video. Here is a link to her website to download her free ebook: https://sugaridoo.com/101-ideas-for-straight-line-quilting/ Scroll down and signup to receive the ebook by email. You can opt in if you want to receive emails from her, but not required.
This may be hard to hear, but it is true that people don't always realize the cost of materials and your labor in making your quilts. This video details the costs for a Queen size quilt, and the total surprised me. If you are curious, you might want to watch this video on You Tube. Click Here
We often joke in our Zoom sessions that if you have 12 quilters, you will get at least 13 opinions! So video's like this are helpful for us to hear the reasons someone likes certain marking methods when quilting. There are many other options, but here is one experts viewpoint with good reasons for her choices. I happen to use both of these tools, but also have other methods I often use. By the way, not only can these be used for Free Motion Quilting, but also marking to match up seams when piecing. I just did some Tumbler Blocks with slanted side seams, and a little mark in the middle helped me line of the seams perfectly. The annual modern quilt show, QuiltCon, just happened in Raleigh, North Carolina. This is a nice video giving a quick tour of the event and some of the quilts there. Enjoy!
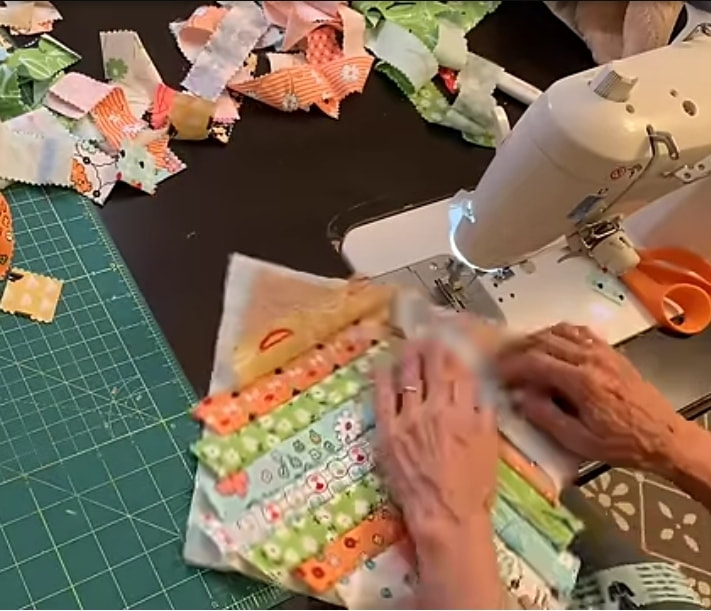
I love this video and how well she explains the Why & How... I have heard before that it is better to fold quilts on the bias, but didn't have a clue how to do that and store my quilts. Thanks to Ma Tante Quilting for this video. You can also sign up for a free download of her written guide and sign up for her mailing list at the same time. Click Here I love the things she wish she knew when she started, and I thought was great information. I have seen slight variations from her method of washing quilts, but this hit all the important points to do it well. I actually use Warm instead of a Delicate Cold wash, but many of my quilts go to my young grandkids and need to be prepared for a rougher life! Even with the use of quality quilting fabric, I have been grateful for the color catchers the first time I washed a quilt. --Ann One of our members, Pauline from Vancouver Canada, suggested this video. The technique taught is a great way to make some small projects and offers a chance to practice your Free Motion Quilting and your Walking Foot Quilting. If you need to make some gifts, don't forget this would be a fun way to use your scraps to make unique coasters, table runners, porch quilts, or even a full size quilt. Win-Win!
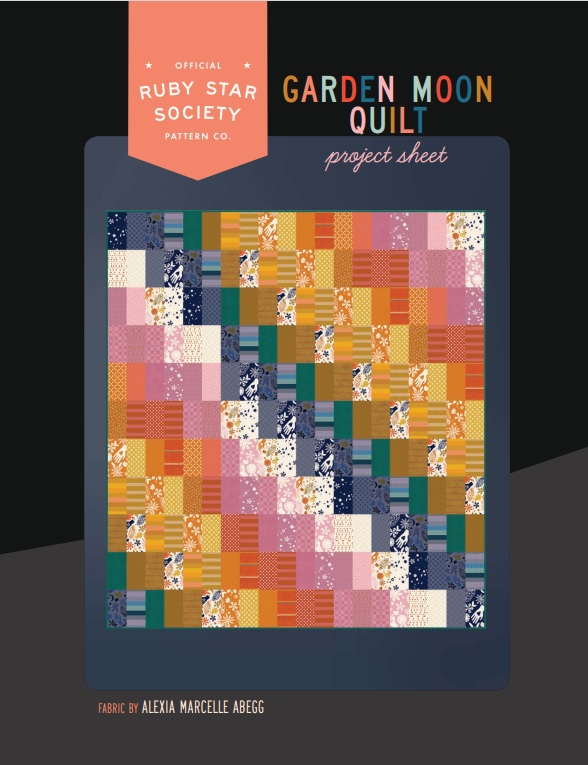
I love my Design Wall to make quilting projects easier, and I can't imagine not having one. Sometimes your sewing area doesn't have space for it, or you need one temporarily for a project. This video by Karen at Just Get It Done Quilts shows some clever solutions that might just solve some issues for you. Check it out. I love those quilt patterns that look difficult, but turn out to be very easy. I haven't made this one yet but the easy construction surprised me. I you make it, please comment and tell us what you thought. There is also a written pattern you can download below. A big thank you to Sew Yeah Quilting.
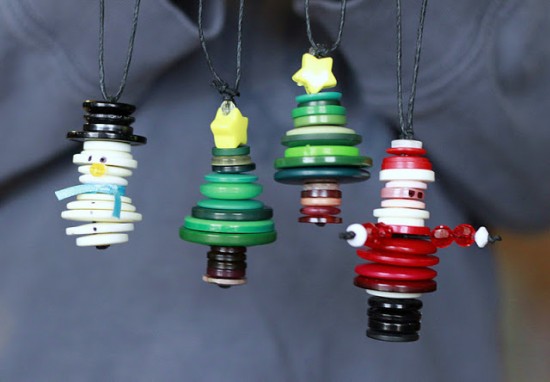
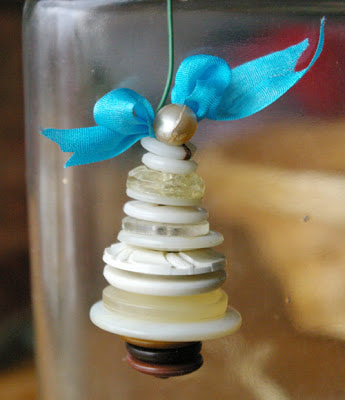
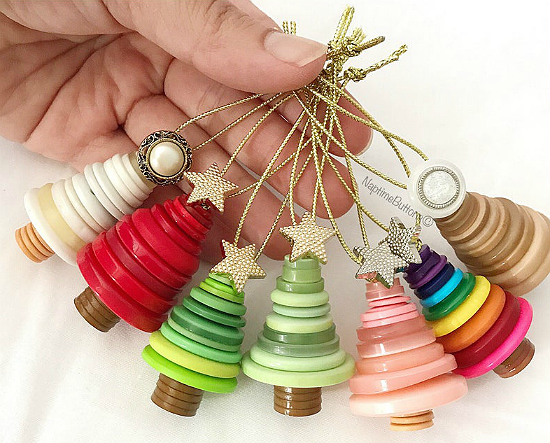
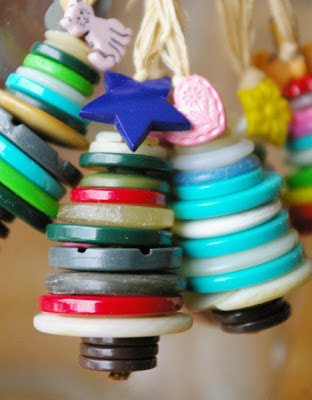
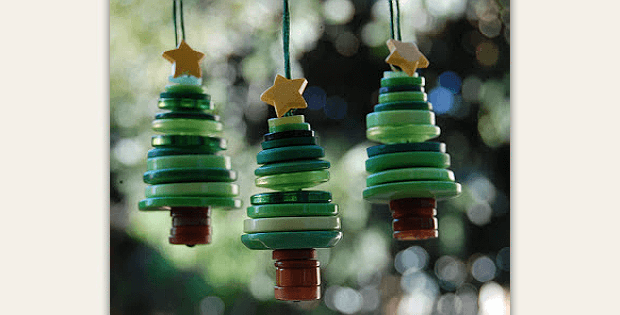
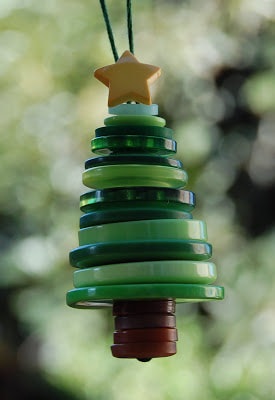
Of course, these are not quilting, but most of us have a stash of buttons in our sewing room to possibly use for a project like this. If you really get into it, you can also find buttons in thrift shops as well. These are fun to give as little gifts, decorate your wrapping, or decorate your own tree.
A few ideas for stringing the buttons:
Here are a few ideas to try: Both of these videos make nice gifts you can sew as gifts. They were posted on our Blog several years ago, and I thought they would be good reminders for our members to use for the Holiday Season. Enjoy! These caught my eye as something cute, easy to make and quick to make. The video includes instructions for making both pillow, with an explanation on an easy back for the pillow so you can easily change your pillow cases when you want. The free instructional video and patterns are from Riley Blake Fabrics. Here is a download for the two patterns:
|
Virtual QuiltersWe welcome quilters from any area to join our free virtual quilt group. If you have questions, contact Ann@VirtualQuilters.com Archives
April 2024
|
||||||||||||||||||||||||||||||||||||||||||

 RSS Feed
