|
When I saw this blog post, I knew our Virtual Quilters would use this! Thank you to Paige from QuiltingWemple.com for this information. She explains that these are design that only look difficult, but with some marking are quite easy. She uses a Hera marker that "creases" the fabric for marking, and since I am not familiar with that, I have ordered one to try out. I will update you on that soon.
You can reach the original post at her blog: https://quiltingwemple.com/7-easy-border-quilting-ideas/ --Thanks, Ann This one is a classic, and is likely everywhere on the internet, I get that, but it’s so popular (and easy) that I had to include it.
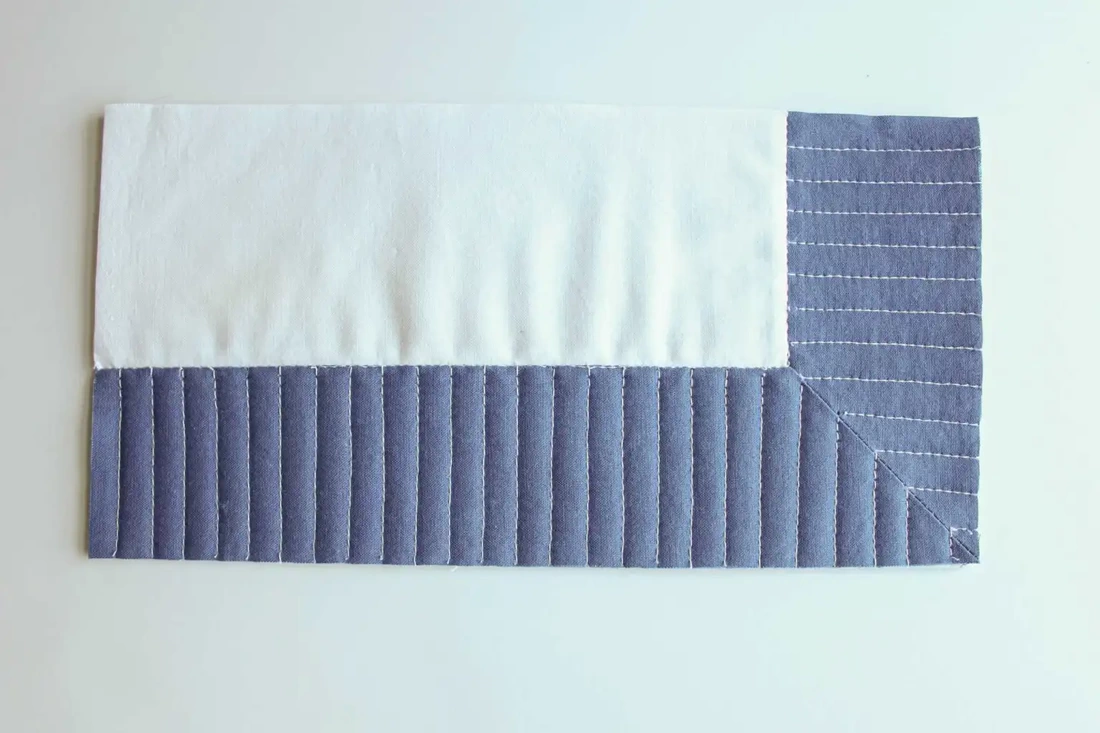
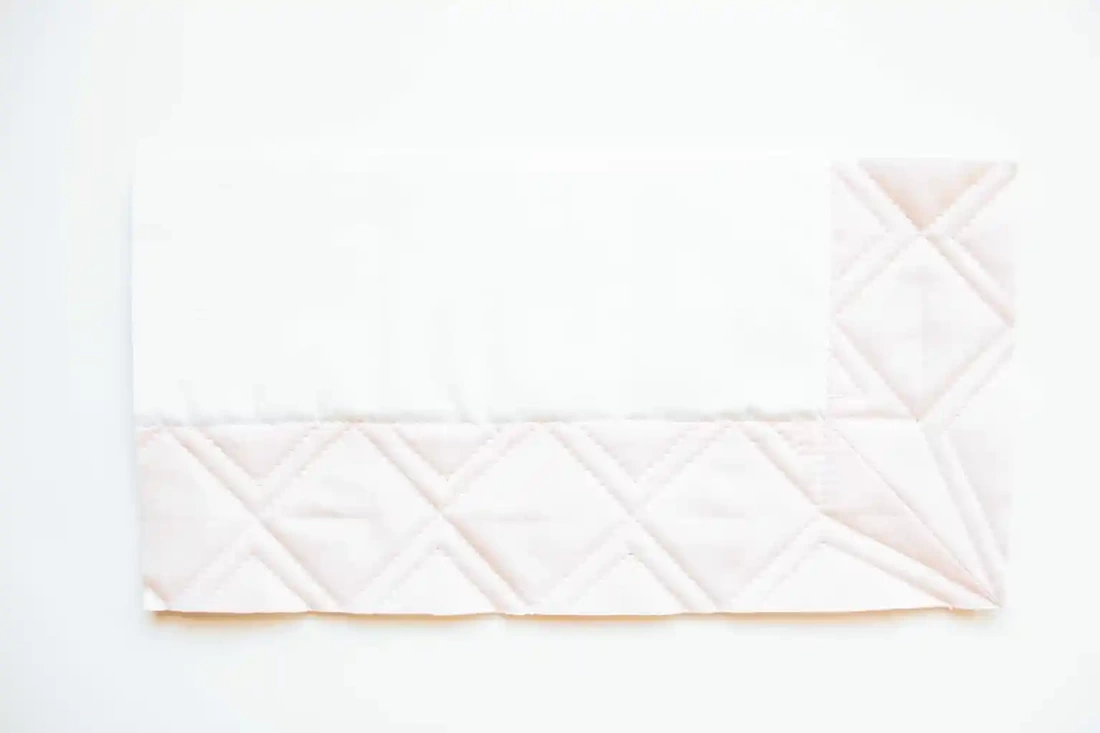
All it is is straight lines running perpendicular to make a “T” with the border you are quilting. I find it easier to start on the inner edge of the block and quilt out to the border edge so you can drop your needle exactly where you want it. Instead of working your way in and putting strain on your eyes to try and figure out if you ended in the right spot. ProTip: To keep the lines straight use some sort of guide, whether it’s the edge of your walking foot or a quilting guide for larger spaces. The one I use is universal to most walking feet. This is the only border quilting design on this list that can be adapted for borders that aren’t straight lined; which is why it’s at the top of the list. My double wedding ring quilt is a great example of how versatile this simple design really is, the rings are curved, but the straight lines around the edge of the quilt just follow the design and end wherever it hits a ring. A very modern and geometric version of the piano keys, start by marking out triangles that zig zag across your border. You may need to make a triangle bigger or smaller to make the corner turn nicely. Then quilt your zigzag.
Using those straight lines, follow the zigzag line, altering directions with each triangle piece. Just be sure to reinforce stitching at the starts and stops! Everyone loves a good herringbone.
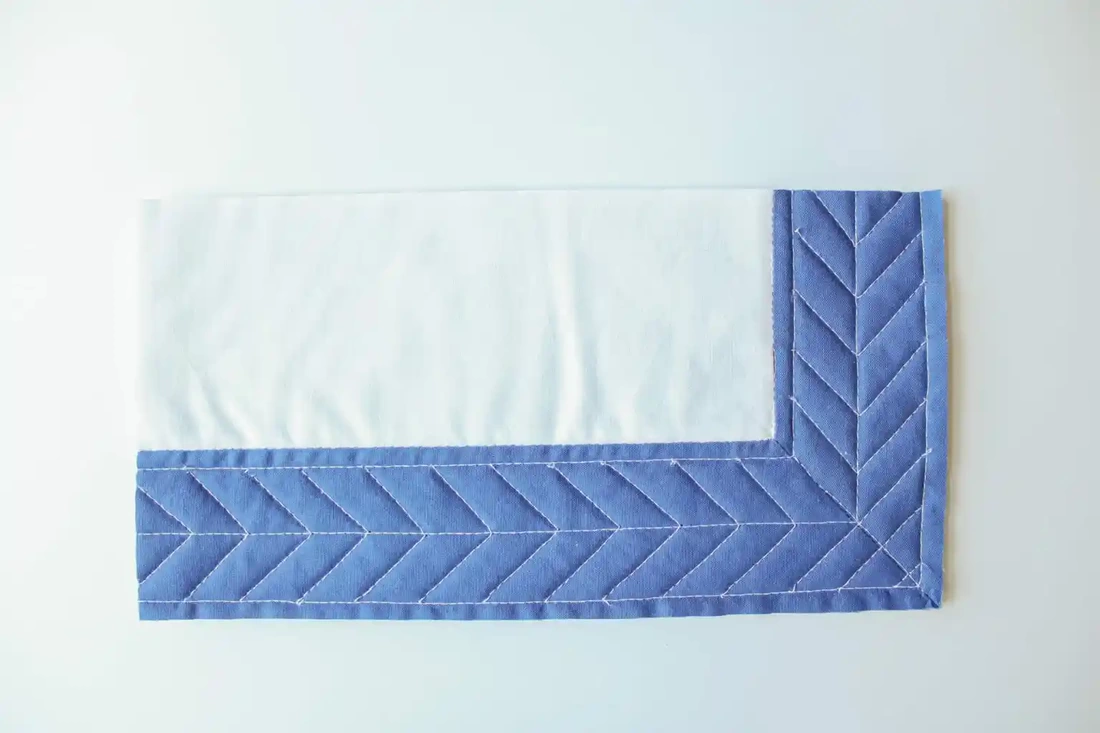
This one is simple, whether you include a border like I did or not, mark a single line down the center with the help of a ruler, the marking will help keep it perfectly centered as you stitch it. Go back with your ruler and Hera marker and mark out perfectly spaced chevron lines on each side. To save time, it’s easiest to do this in bulk a side at a time. This way you know your herringbone will have a consistently spaced chevron and both sides will end at the same point to give you that great design. Maybe you have squares in a pieced border, or maybe you just want to add some interest to a solid color border.
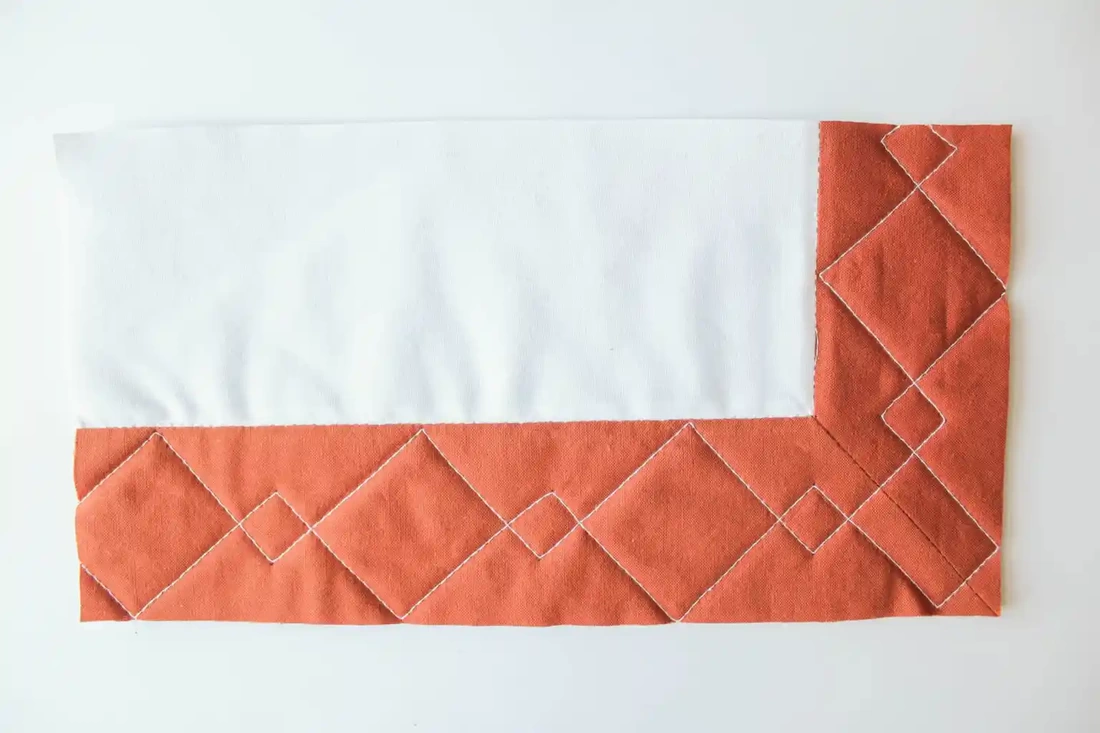
Either way this is a great, easy, and QUICK one. I like to start at one corner and just using the right angle of my ruler mark out two zig zags across the border side that meet up to make the square! You may need to adjust towards the end so you don’t end up with a half square when you get to the next corner, but the beauty of marking ahead is that you have all the time in the world to play with it before committing. When you quilt it, quilt it like a zig zag (half at a time) instead of a square, you’ll keep moving and you won’t have to push and pull the quilt so much. The interlocking squares build off the concept of the simple squares and makes it a little more fancy. To quilt, instead of marking the middle of the width of the border, make marks at the 1/3 and 2/3 points and run them the full length of the border. Do not quilt these lines, they are for reference only.
Instead of marking from one edge of the border all the way to the other edge like in the simple squares, mark from an outer edge, across the first 1/3 reference line, and stop at the second. Make your 90 degree angle, and mark all the way back out to the outer edge of the border. Do the same thing on the inner side of the border, crossing the closer 1/3 reference line and stopping at the second. Other than that it’s just a zig zag! 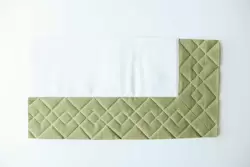 The Knot - Walking Foot Border Design The Knot - Walking Foot Border Design
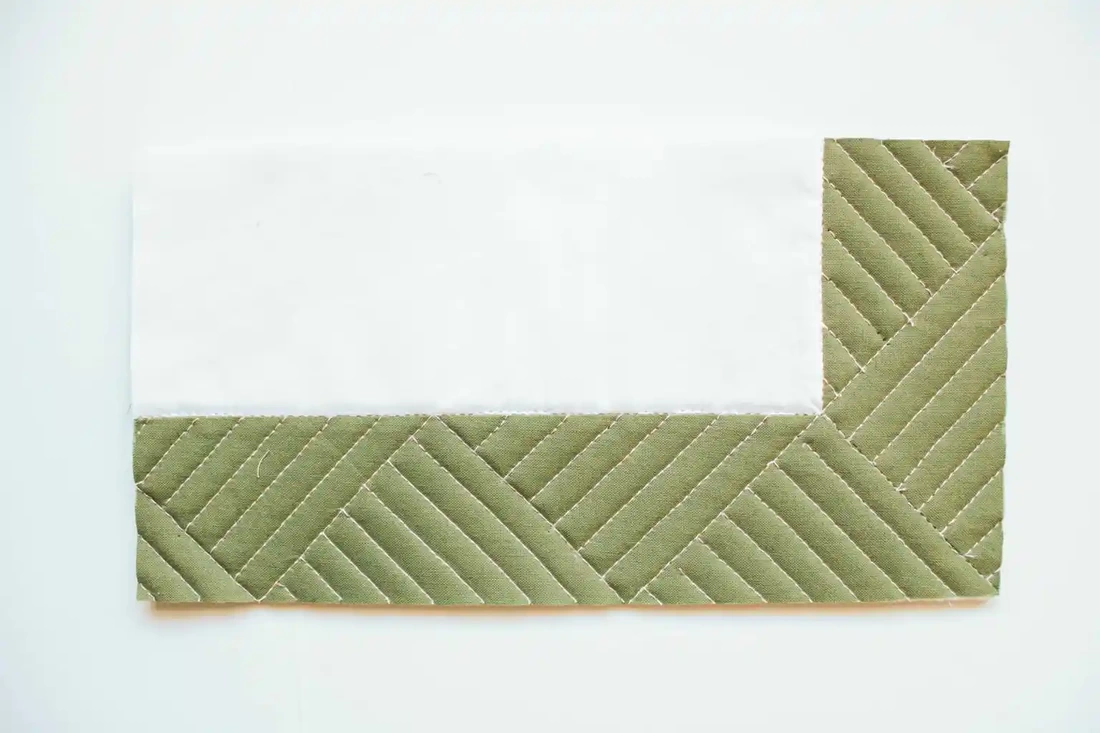
Even fancier still, but no more difficult to do, this knot design is created by making two interlocking square designs that are offset from each other.
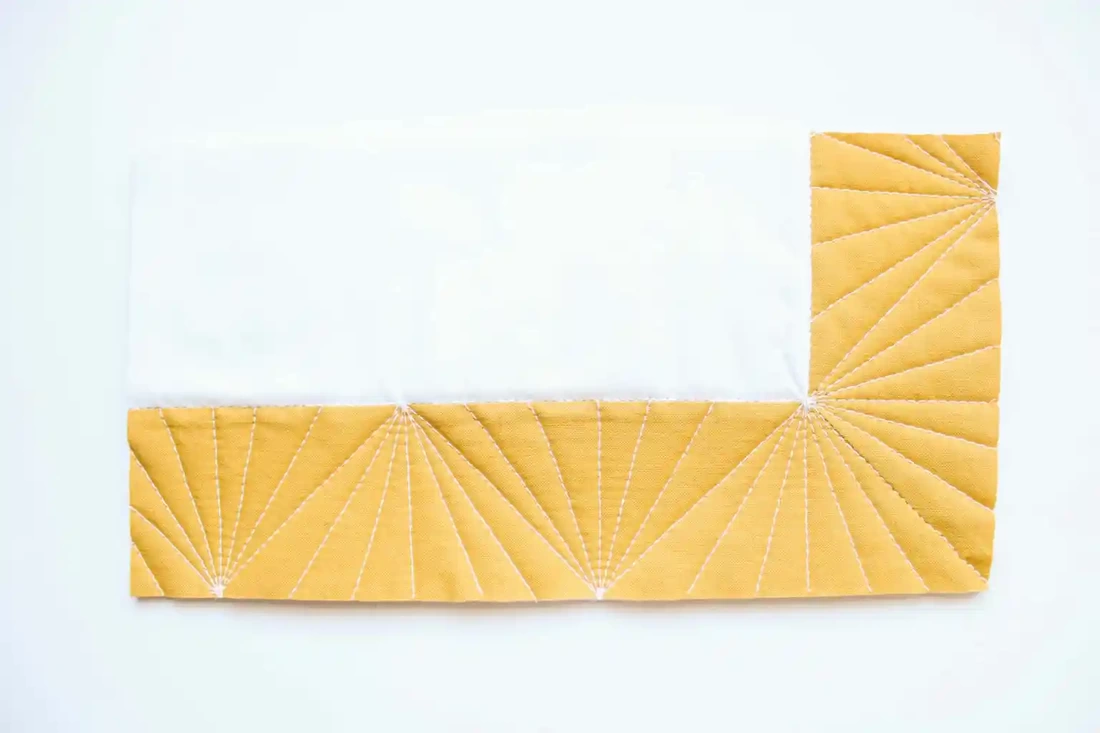
To start, make the interlocking squares from above. Now repeat the two zig zags, on top of the original two, using those same 1/3 reference lines. Except this time, off set them from the first set so where the original set made a big square, the new lines will cross for the small square. I love that this design is as simple as four zig zag lines. This border quilt idea is fun as it kind of gives you an unexpected triangle design that you really don’t see often. This design uses an “entry level” dot to dot technique, and if you’ve never heard of “dot to dot” before, all it means is that it uses geometric shapes, whether they are from the quilting or the piecing and uses corners of the shapes as “dots”. Make different shapes connecting them between “dots” and fill them in after! To get this design, mark out your zig zag and quilt it first. Then go back in and start at the point where the zigzag turns, quilt 5 lines out to the opposite edge of the border, fanning your lines as you go! Repeat the process for each turn in your zig zag.
0 Comments
Northern California quilters love this show, but some of us didn't make it this year due to concerns about Covid. I found this video online that she walks through the Display of Quilts so anyone can see them virtually. The video is long (an hour and a half) so I may watch it over several sittings. Still, I appreciate the opportunity to see them and may even find some new ideas to try.
This is a great video to know what you can be doing to help keeping your sewing machine running well. You still need your repair shop, and periodic maintenance through them, but these are easy tips you can do yourself to keep things running smooth. Well worth the watch, and might just save you frustration and money in the long run.
Recently our group has been discussing spray basting quilts with the pro and cons. Another alternative is to make your own homemade basting spray. It saves a lot of money, and has no chemicals to be concerned about. It is a different process to use, but it might just be something you want to try.
A big thank you to one of our members, Linda, for sending me a link to this video! Linda took notes on the ingredients: 1/2 t salt dissolved in 2 Cups water on the stove. Add to that; (3-4 T Flour dissolved in 1 Cup room temp water, shake or stir so no lumps ) and whisk till gelatinous. Cool to room temperature and pour into a spray bottle (large enough to hold 4 cups of liquid). Add 1 cup of rubbing alcohol* to that and shake. Will need to be shaken every time you use it. And a few notes from the comments on the video:
I am adding this useful video below that shows how to use the spray successfully with your projects. You can iron the quilt to dry faster, but for larger projects laying it out to air dry makes it much easier.
---Ann |
Virtual QuiltersWe welcome quilters from any area to join our free virtual quilt group. If you have questions, contact [email protected] Archives
July 2024
|
 RSS Feed
