|
I recently discovered the Hera Marker made by Clover. Inexpensive and can be used for finger pressing seams open. I tried it and it works great!
I found another video that showed how to use the Hera Marker to make lines for Free Motion Quilting or Walking Foot Quilting. Check it out below.
0 Comments
I love Jen Kingwell's quilts and patterns. In this short video she talks about how she approaches choosing fabric or a color pallette with her wonderful scrappy quilts.
If you aren't familiar with this famous quilter from Australia, use this link to her website patterns page: https://www.jenkingwelldesigns.com/jen-kingwell/ --Ann I love this cute and quick Improv Christmas Tree Block from Amy Smart of DiaryOfAQuilter.com. Make a bunch of them to create a wall hanging, a quilt, a table runner, or even a fabric bag. Watch this video to learn how to create the block in any size you decide.
OR IF YOU PREFER - USE THESE EXACT MEASUREMENTS BELOW FROM AMY SMART TO MAKE THE MINI QUILT WALL HANGING: You can make this following the video above, or go direct to her blog post for more info at https://www.diaryofaquilter.com/patchwork-tree-quilt-block-tutorial/
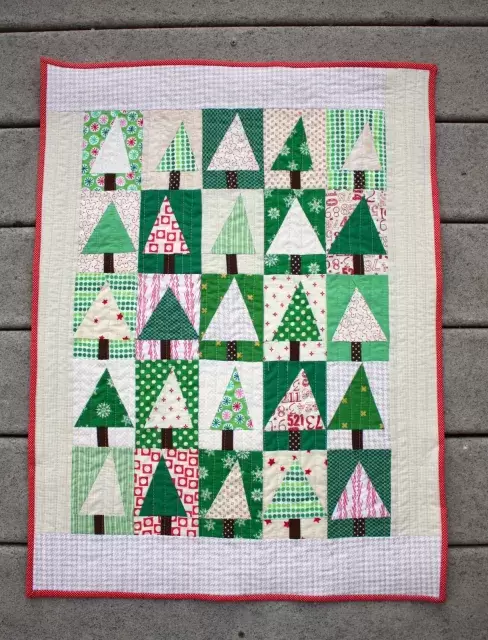
I sewed 25 Christmas tree quilt blocks into a mini quilt. My borders are 2 ½″ wide finished, but you can certainly make yours however you so desire. Remember, this doesn’t need to be perfect. A little bit wonky and a little bit improv-y makes a statement too. Feel free to make it your own.
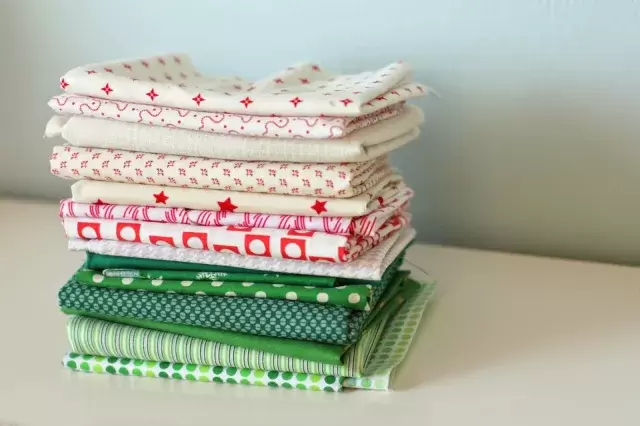
For my palette I chose a variety of greens in different shades and scales, to create interest and depth. I paired the greens with white-background prints and pulled in just a little bit of red. I like that it gives a hint of Christmas, while still letting the green and white be the dominant colors. You’ll also need a few scraps of brown for the trunks.
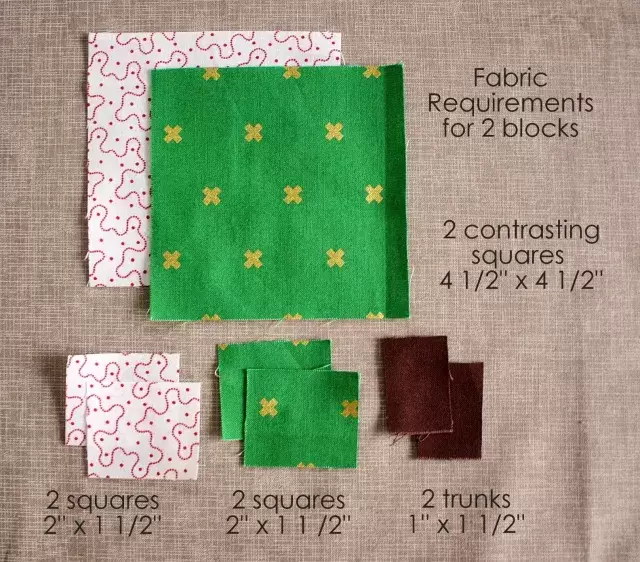
Using this method you’ll be making two tree blocks at the same time. First pick two contrasting fabrics. From each fabric cut a 4 ½” x 4 ½” square and two 2” x 1 ½” rectangles. From the brown scraps cut two 1” x 1 ½” rectangles.
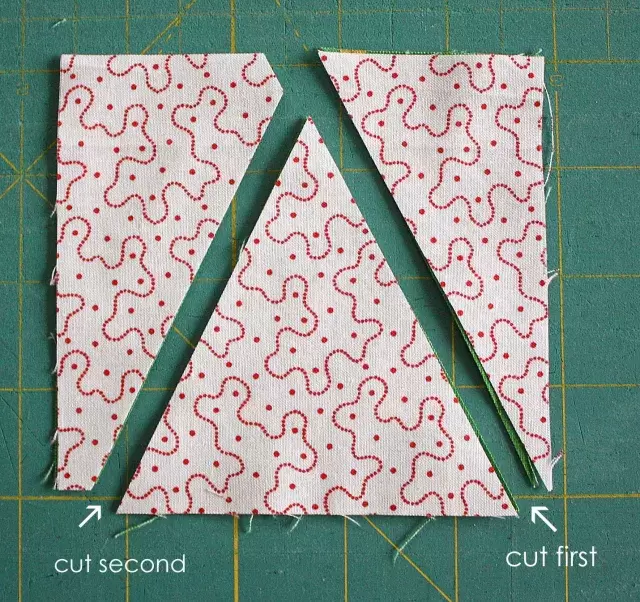
Stack the two 4 ½” x 4 ½” squares on top of each other, with both right sides facing up. Using a ruler and a rotary cutter, cut one side of your ‘tree shape. Pull the right side away and make a second diagonal cut to create a triangle ‘tree’ shape. Keep these pairs together, if you are mass-cutting your blocks at once.
You can cut all of your pairs the same way (such as 60 degree triangles) or you can cut each pair slightly different by cutting the triangles at different heights, angles, etc. I really loved giving the trees a little bit of personality and making them all different. This project is very ‘improv’ inspired, so have fun experimenting!
I love this technique shared by Krista Moser on her blog at www.kristamoser.com. She uses a Creative Grids ruler she designed, but using a 60 degree angle, you could also do this with other rulers. Of course, her ruler would be ideal for this project.
JUST ONE CUT TABLE RUNNER by Krista Moser 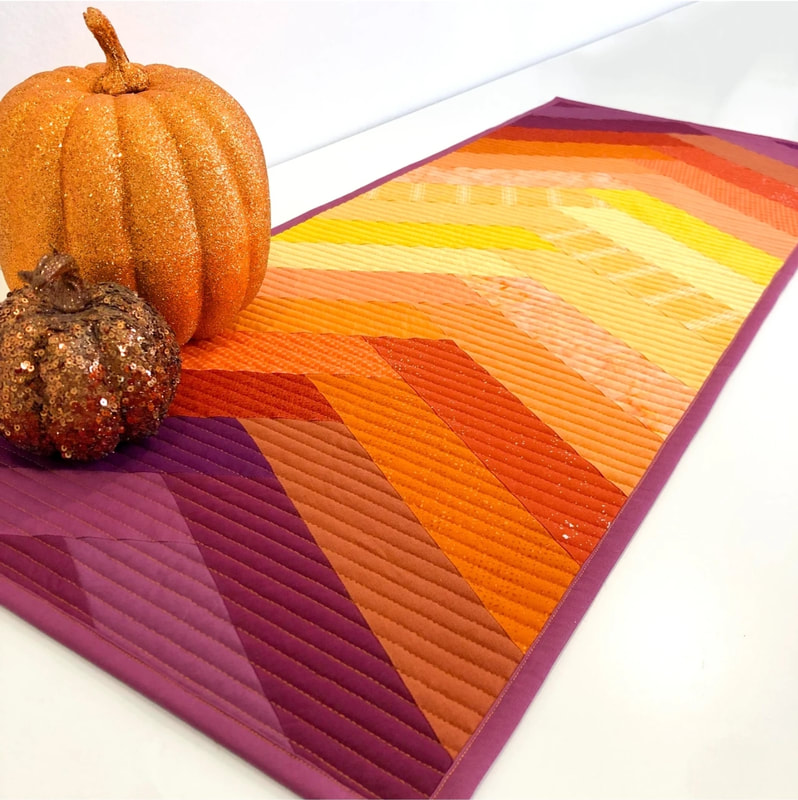
What kind of design can you make with just one cut? I had fun playing around this week and came up with this woven braid-style table runner! I had a pile of orphan 2 ½” strips in all kinds of fall colors and thought it would be fun to use them up in a new way.
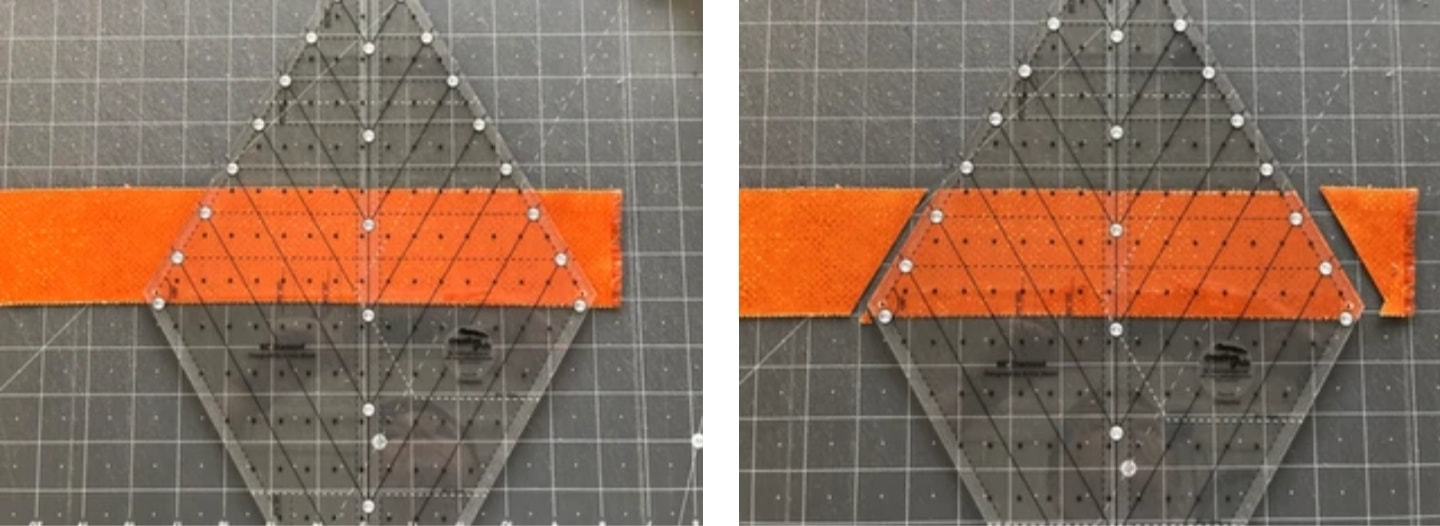
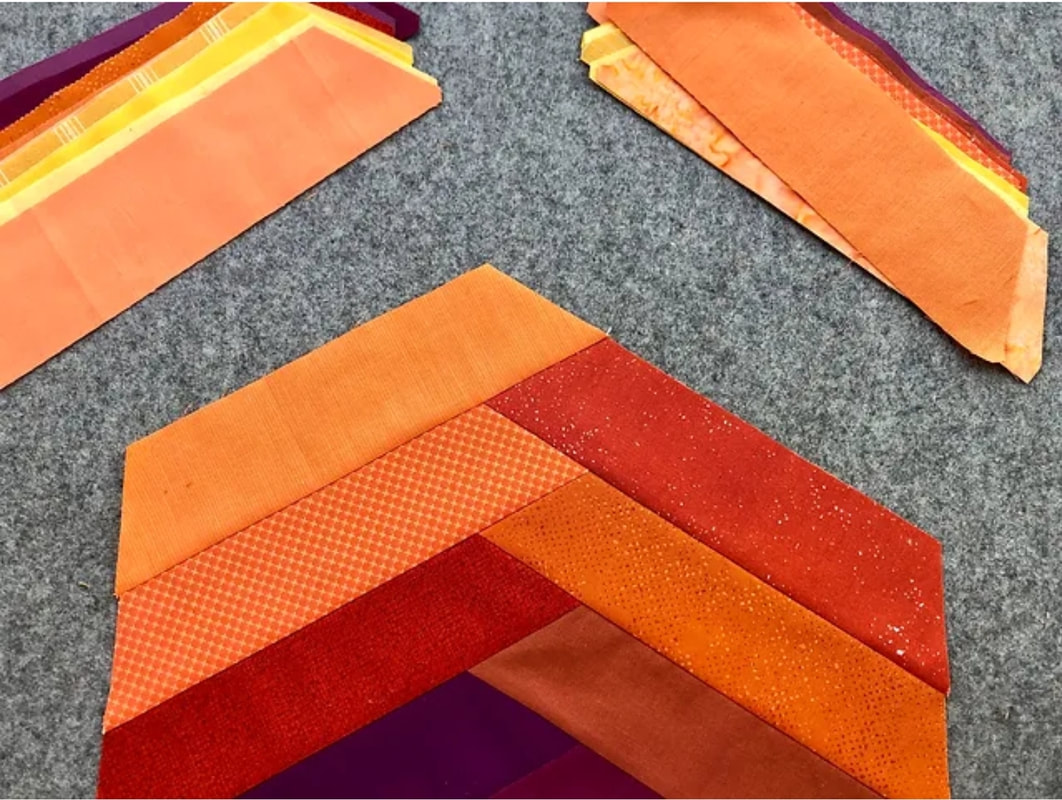
First, I cut 8 ½” trapezoids from the 2 ½” strips. I used the Large 60-Degree Diamond Ruler for this step. Using the triangle lines on the ruler, align the 8 ½” line with the bottom of the strip and the 6” star/burr line with the top of the strip. Cut on both sides of the ruler, and trim the outside corners off flat. Rotate the ruler 180 degrees to make the next cut.
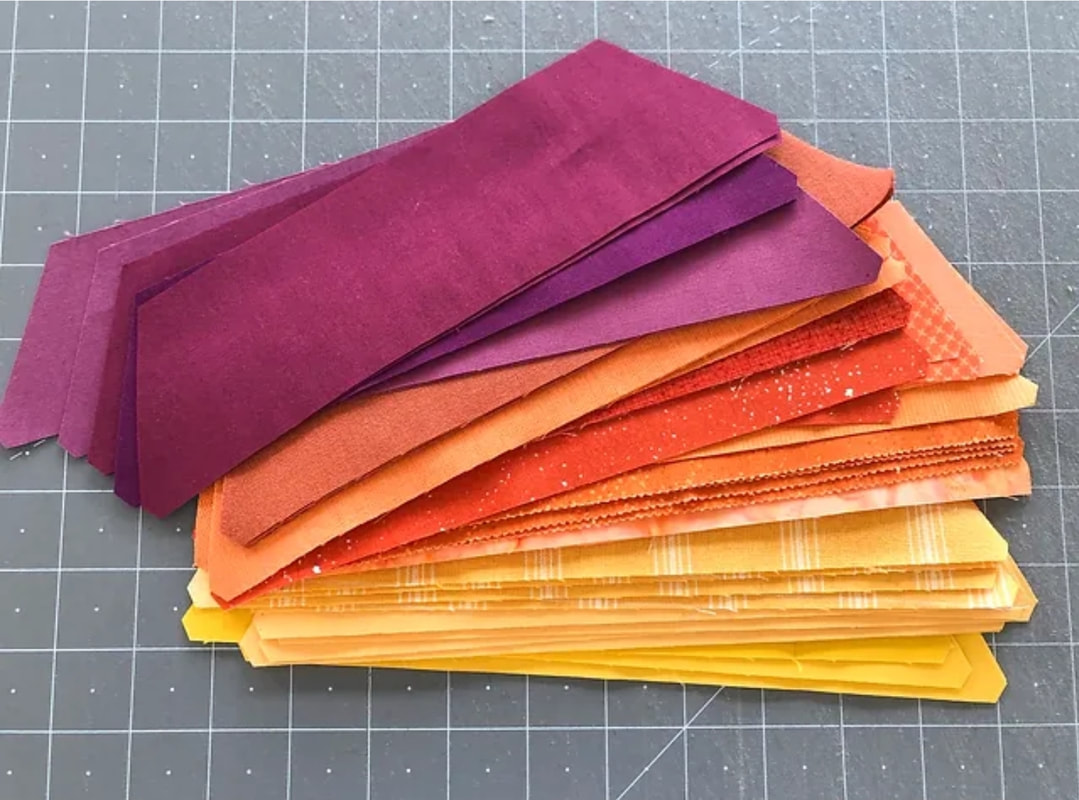
I got a little carried away and cut a huge pile of these trapezoids. I ended up only using 34 of these for my table runner and it still came out 36” long.
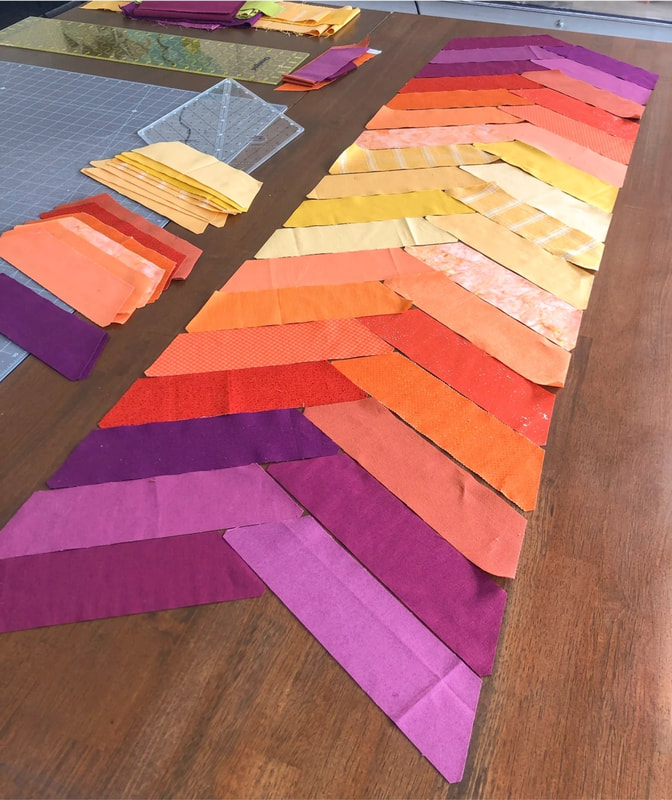
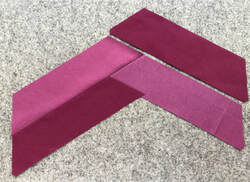
Now, for the layout. This was fun! I thought I'd mix all the colors up, but in the end, I ended up liking a more ombre layout… no surprise there :) Here you see each one overlapping the next one.
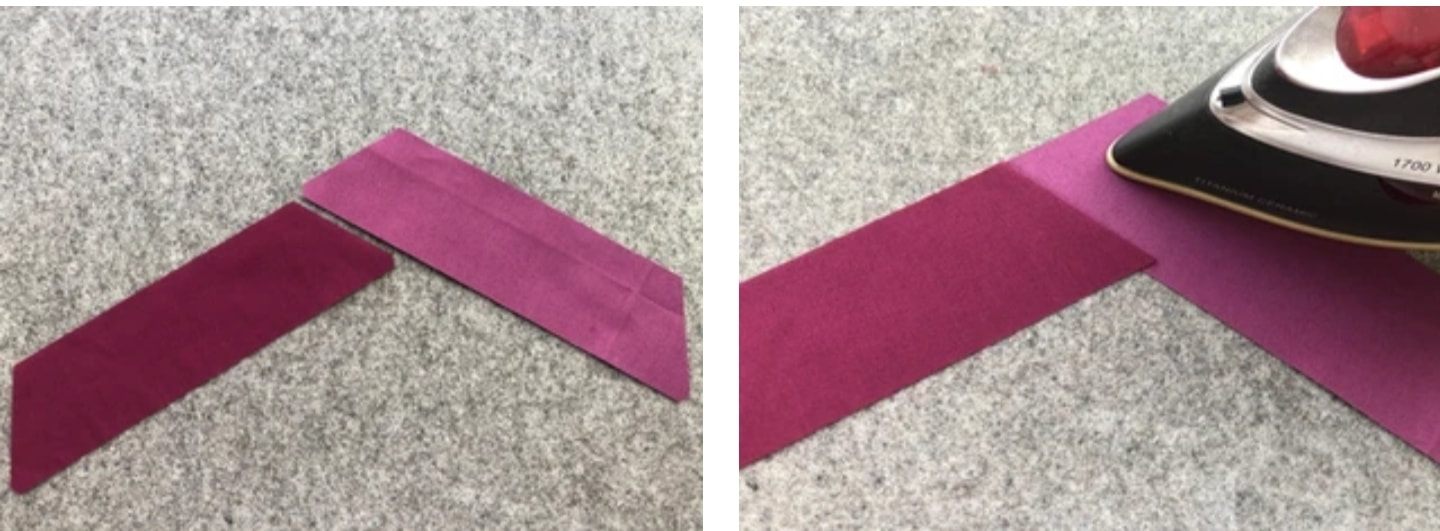
Okay, now to sew it together. I took the first two pieces and sewed the short seam to join the left piece to the underside of the right piece. Press that seam out.
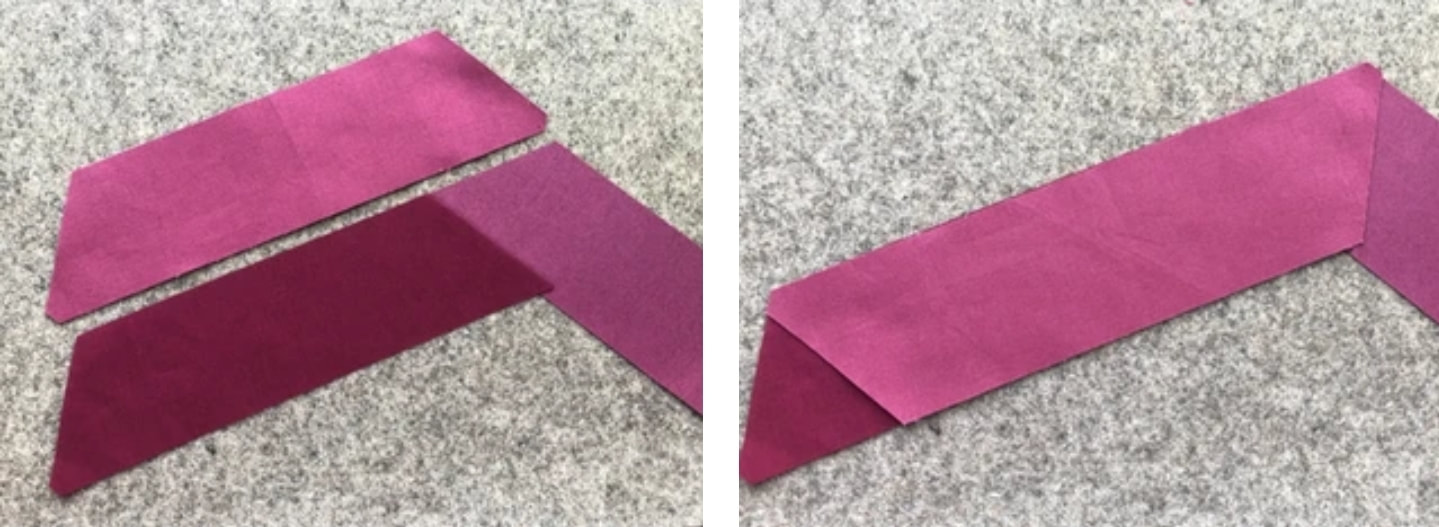
Add the next piece to the top left, and use the flat tips as a match-up point on either end to center the piece before sewing.
Press that seam out once sewn.
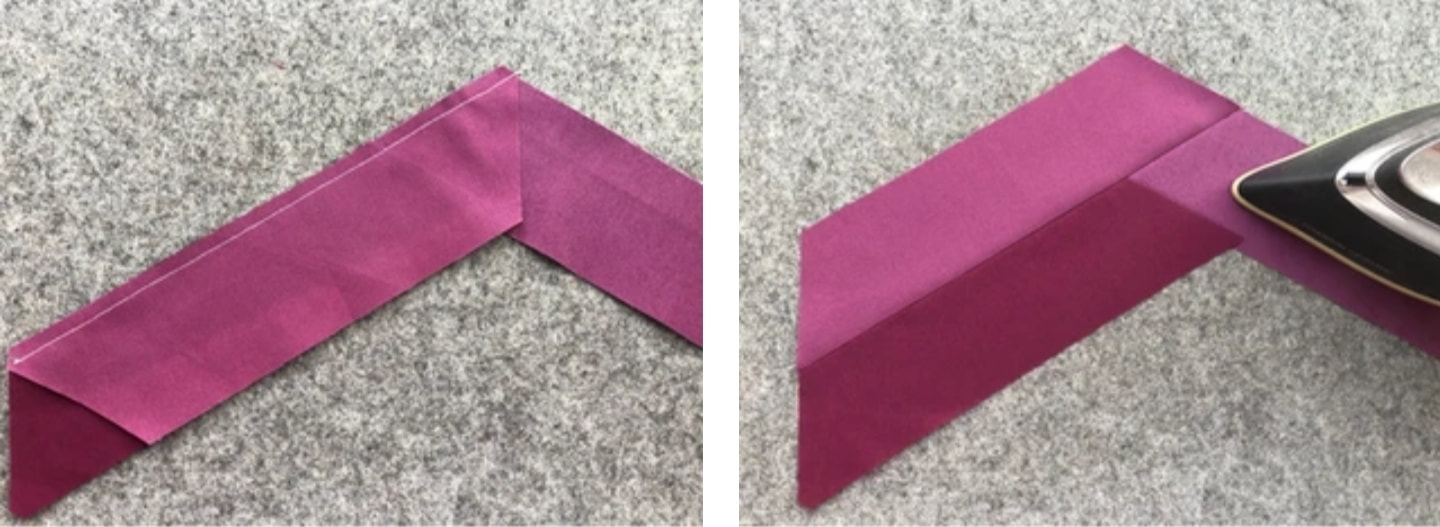
Add a piece to the top right, sew, and press each new piece.
Alternating right and left, add one piece at a time, pressing each seam out before adding the next piece.
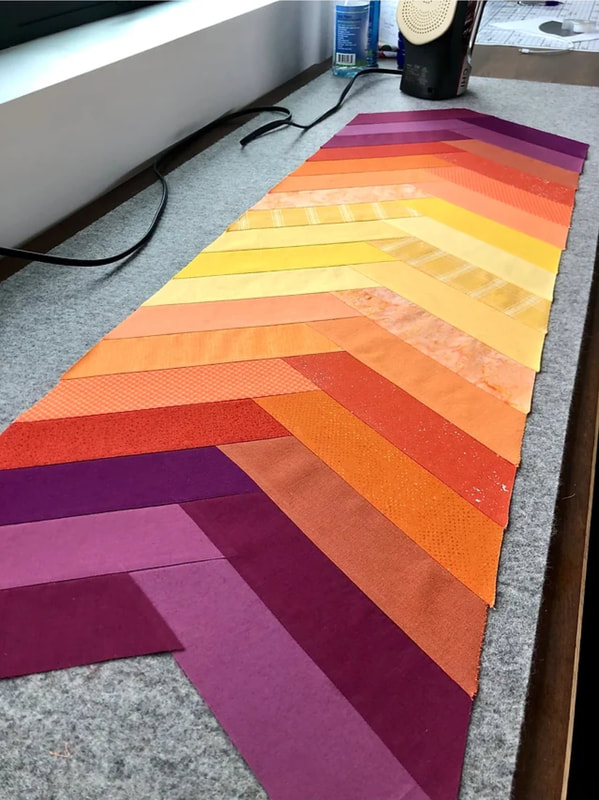
I kept adding trapezoids until my table runner was as long as I wanted. This would be fun to do in a quilt-as-you-go method as well. So easy and pretty fast too!
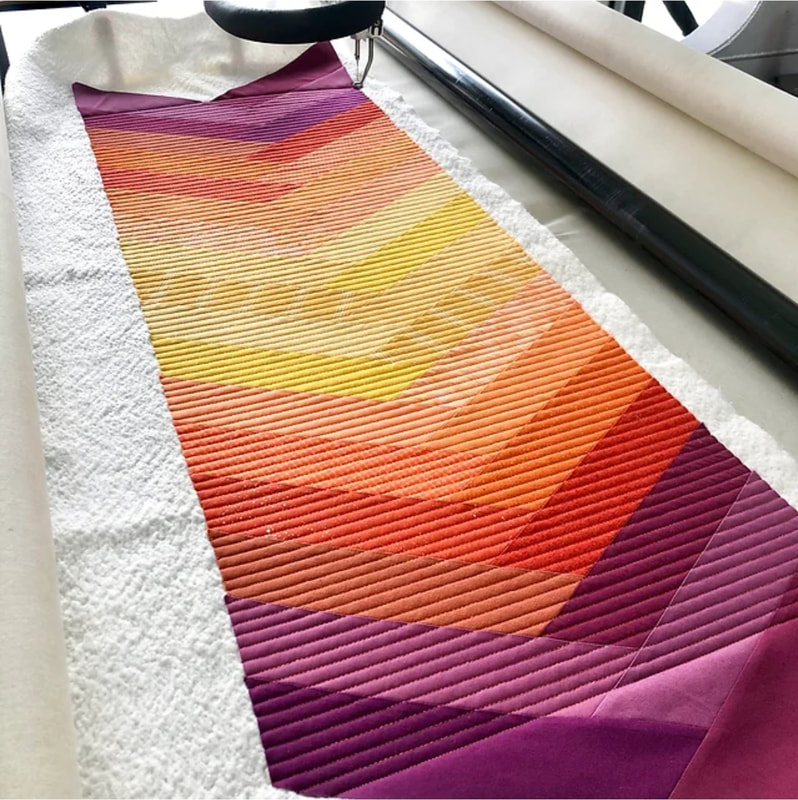
I just quilted mine with straight lines ¼” apart on the longarm. I planned to cut both ends off straight, so I didn’t bother quilting the areas that would get cut off.
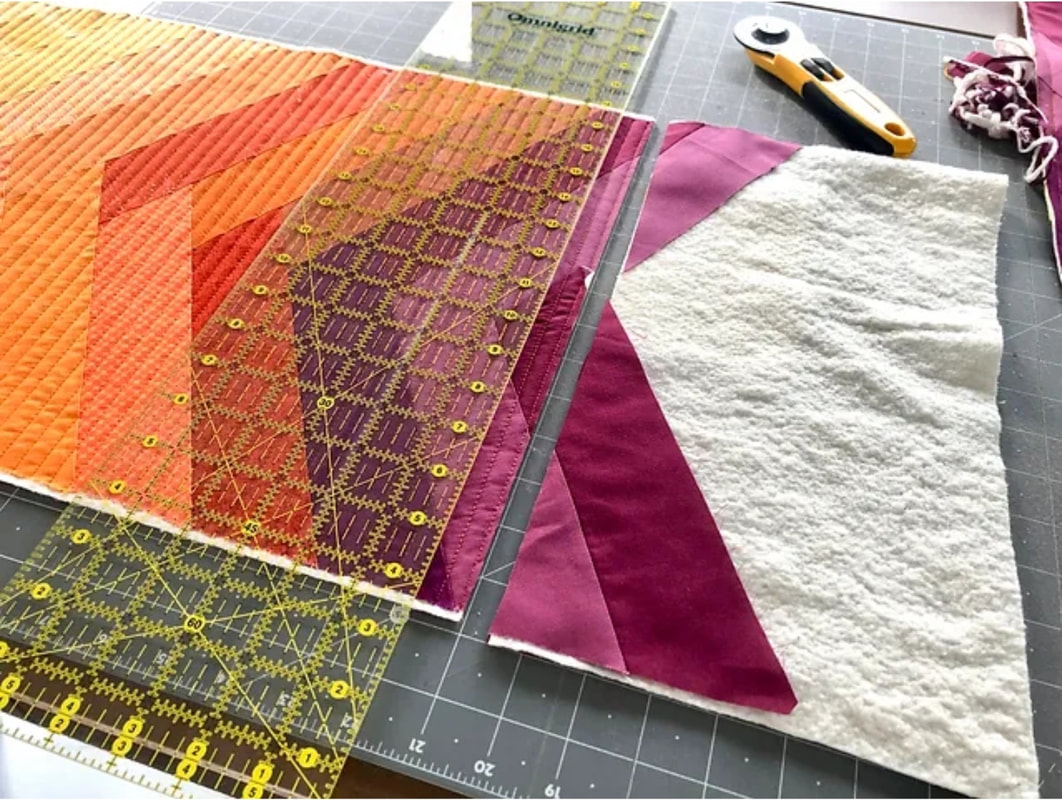
Trim the whole thing up and straighten out the ends. I bound it with a 2 ¼” binding.
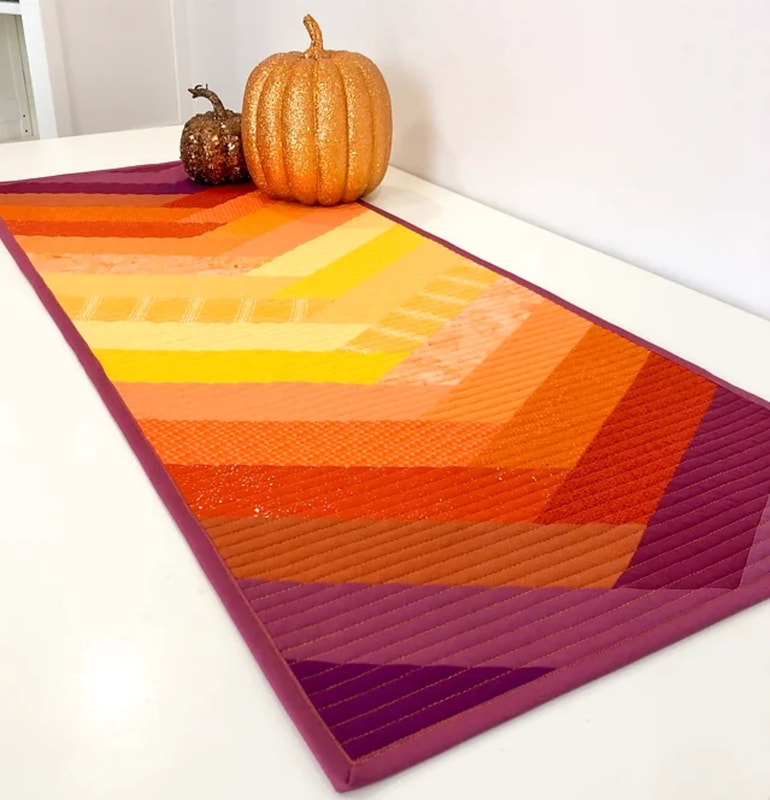
And here it is! I had so much fun with this super simple scrap project, I already have plans to make a few more. This table runner came out 14½” wide and 36” long. If I started with 6 ½” trapezoids, this table runner would only be about 10½” wide. You could make a cut heart runner from 4½” trapezoids. Wouldn't that be cute in a candy cane colors?! Krista |
Virtual QuiltersWe welcome quilters from any area to join our free virtual quilt group. If you have questions, contact [email protected] Archives
July 2024
|
 RSS Feed
